
How-tos
Working with Linux
If you have suggestions on how to improve this document, or find mistakes, please send them to ilslabs@nulluu.nl
Introduction
Linux is a common name for a series of operating systems based on Unix. It’s a different operating system than Windows, as it’s much closer tied to the command line interface (for Windows users: remember MS-DOS?). This has its advantages: we can have much more control about what’s going on with hardware; and it so allows for a real-time environment, which is very useful for experiments that measure e.g. reaction times.
In the labs, we use the Ubuntu Mate distribution of Linux (version 20.04). This distribution has a rich graphical interface and quite an active group of users (so if you get stuck, you might well try googling!).
How to login into Linux?
Almost every PC in the lab is a dual-boot PC: it can boot into both Windows and Linux. To use Linux, select that operating system on start-up. You can log on with your Solis-ID and password. If you can’t log on, make sure you have been added to the lab users group. See this page for details.
The terminal
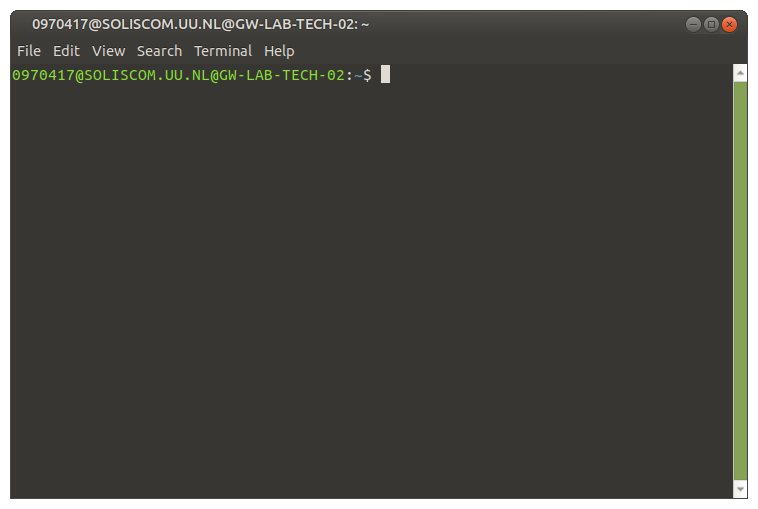
Before you can run an experiment with ZEP, it’s important to understand how to navigate the terminal. The terminal lets you perform commands, one-line instructions that tell your computer what action to take on a file or folder. You can open the terminal by pressing Ctrl + Alt + T. Here’s what it looks like:
Some frequent terms you’re going to encounter are “directory” and “command” .
Let’s start with directories. You can see your username in green and the current directory you’re in, in blue after “:”. now you just see “~”, this means you’re working in your home folder.
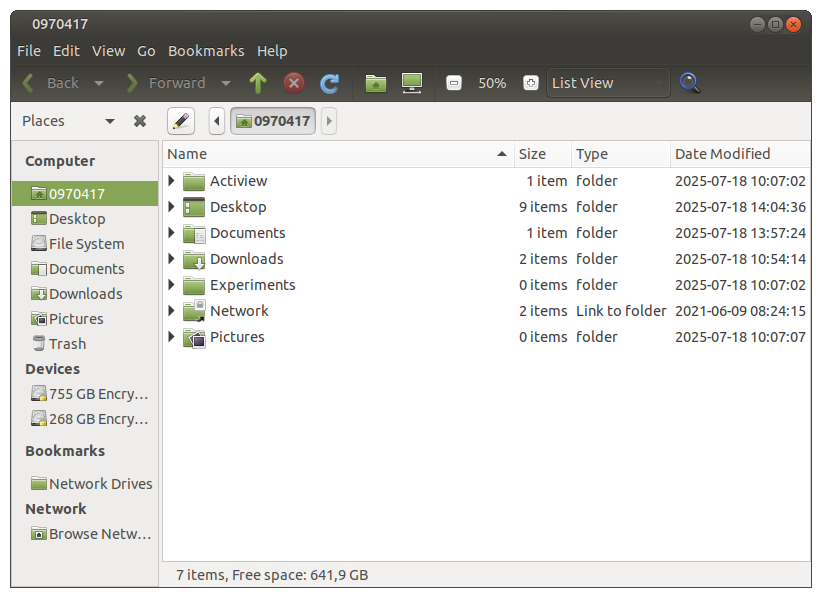
Directories are, simply put, your folders. When you open your file manager, you’ll often see main folders like Downloads, Documents, Pictures, etc in your home folder as shown down below.
These same folders can also be accessed through the terminal using commands. Two basic and important commands are:
-
ls— which lists the contents of the current directory -
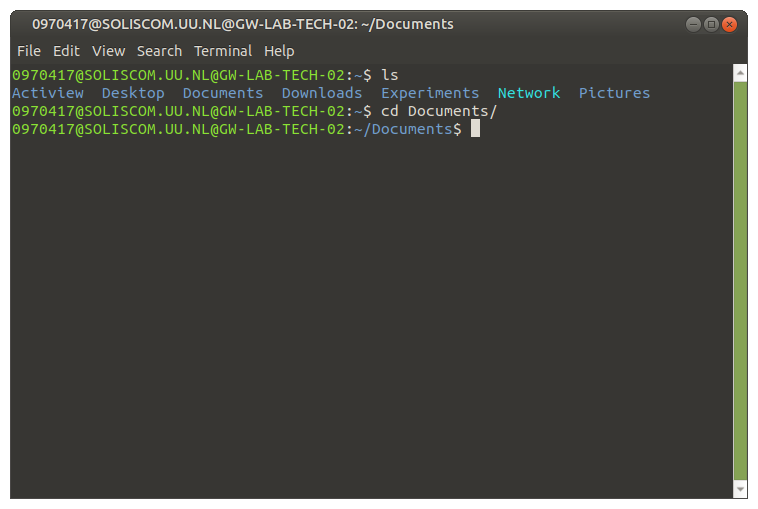
cd— which stands for “change directory” and lets you move between folders
Let’s see them in action!
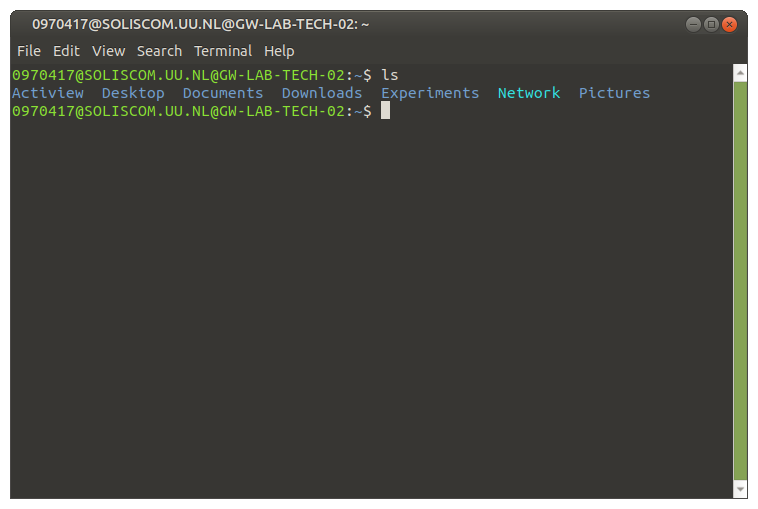
As you can see, after using the ls command, which lists all folders in your current location. The output matches the folders you see when browsing your home folder in the file manager.
Keep in mind that the terminal is case-sensitive — for example, Network is not the same as network. Let’s move into the Documents folder.
 After the
 $ symbol, you can see your current directory, in this case, we’re in Documents.
The How to properly run a ZEP experiment in the lab page shows you the correct way to store and run your experiment.
Keep in mind that the folder and file structure used in this tutorial is simplified and not an exact representation. It’s just meant to help you understand how to navigate the terminal more easily.
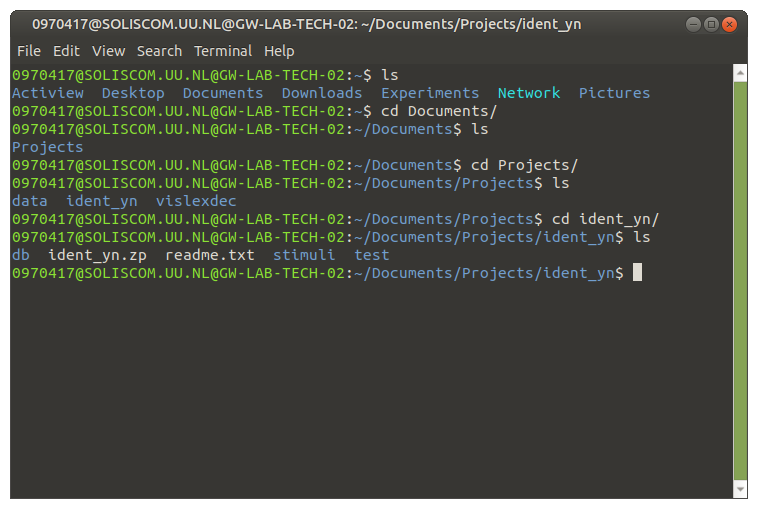 We’ve now navigated through the folders and arrived at the one containing our experiment file:
 ident_yn.zp.
To run the experiment on your computer, you’ll need to use a ZEP command. As shown in the image above, the command consists of zep followed by the name of your experiment file.
Press Enter, and your experiment should start running — you’ll see something like this appear on your screen:

There are alot of commands and shortcuts to make navigating easier. The following table describes some common commands:
- Note that for adding a directory/file to a command, you can use the tab button to auto-complete the path (or showing possible auto-complete options).
- Reminder: ‘.’ denotes the current directory, and ‘~’ denotes your home directory (see some of the commands below).
- Unsure about a command? Use whatis or man to find out more about it.
| Action | Command |
|---|---|
| Files and directories | |
| show contents of the current directory | ls |
| show detailed contents of current directory | ls -al |
| show contents of directory | ls dirname |
| move or rename file | mv oldfilename newfilename |
| copy file | cp filename newfilename |
| copy file to current directory | cp otherdir/filename . |
| go to directory | cd dirname |
| go to your home directory | cd ~ |
| create new directory | mkdir dirname |
| show current directory path | pwd |
| remove file | rm filename |
| remove (empty) directory | rmdir dirname |
| remove complete directory structure | rm -rf dirname |
| See what’s in a text file | |
| show file contents | cat filename |
| show file contents one screen at a time | more filename |
| idem, scrolling back through arrow keys | less filename |
| show the first 10 lines of a file | head filename |
| show the last 10 lines of a file | tail filename |
| Other | |
| change file or directory permissions | chmod options filename |
| show differences between two text files | diff filename1 filename2 |
| search for pattern in file | grep "pattern" filename |
| search for pattern in current directory, recursively | grep -r "pattern" . |
| search for files | locate "pattern" |
| basic info for a command | whatis command |
| show man page for a command | man command |
| show commands related to keyword | apropos keyword |
| start a Zep file | zep filename |
Working with Linux can be overwhelming and confusing at first. Fortunately, the internet offers plenty of helpful resources, guides, shortcuts and tutorials. Hopefully, this brief introduction has given you a better understanding of how to navigate and run ZEP files using the terminal.
What to do next?
You don’t need to become a Linux wizard, though it certainly wouldn’t hurt! You can explore online tutorials or check out the Wikipedia links provided in the introduction. But the best way to learn is by simply booting into Linux now and then and challenging yourself to use the command line for tasks you’d usually do with a graphical interface.